Launching a successful YouTube channel in 2025 requires more than creativity; it necessitates a professional YouTube studio setup that helps your videos look and sound amazing. Whether you’re a beginner or planning to upgrade your home studio, having the right camera, lighting, and sound setup can transform your content quality and viewer engagement.
This comprehensive guide walks you through everything you need to build a complete YouTube studio setup, from choosing the best camera and lighting gear to optimizing your audio, background, and workflow. We’ll also share expert tips and explain how our studio setup service can help you create a professional-grade space that fits your goals and budget.
Why Your YouTube Studio Setup Matters
In today’s digital landscape, viewers expect high-quality video and crisp audio. Even if your ideas are brilliant, poor lighting or muffled sound can cause people to click away within seconds.
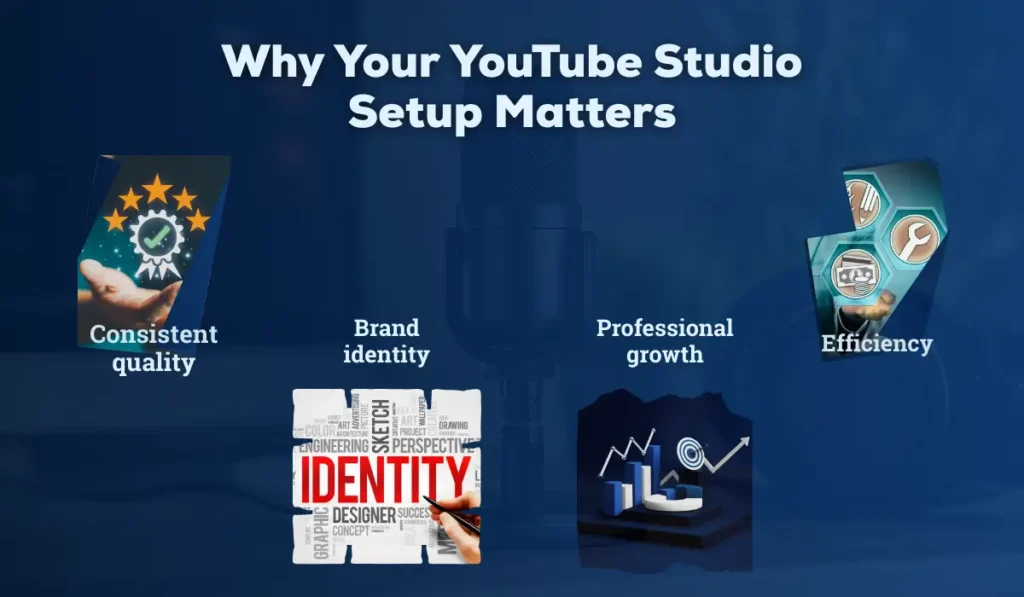
A dedicated YouTube studio offers several benefits:
- Consistent quality: Your videos always look professional, regardless of time or weather.
- Efficiency: Everything stays ready to record, eliminating the need to waste time setting up each time.
- Brand identity: A consistent background and lighting style make your channel instantly recognizable.
- Professional growth: A well-designed studio attracts collaborations, sponsors, and brand deals.
Investing in the right studio setup isn’t an expense; it’s an investment in your channel’s growth and credibility.
Choose the Right Camera for YouTube Studio
Your camera is the heart of your YouTube studio setup. The good news? You don’t need the most expensive camera; you need the right one for your niche and workflow.
Types of Cameras for YouTube Creators
- DSLR Cameras:
Great for cinematic videos, product reviews, or tutorials. They offer excellent image quality and interchangeable lenses.
Popular choices: include the Canon EOS 90D, Nikon D7500, or Canon Rebel T8i. - Mirrorless Cameras:
Compact, lightweight, and perfect for vloggers. They provide sharp 4K footage with excellent autofocus.
Popular choices: Include the Sony ZV-E10, Panasonic Lumix GH6, and M50 Mark II. - Action Cameras:
Ideal for travel vloggers, fitness creators, or outdoor shoots.
Popular choices: Include the GoPro Hero 12 and the DJI Osmo Action 4. - Webcams or Smartphones:
For beginners, modern smartphones or premium webcams like Logitech StreamCam
can deliver surprisingly good quality.
Key Camera Settings for YouTube Videos
- Resolution: Shoot in 1080p or 4K for crisp visuals.
- Frame rate: 24fps for cinematic feel; 30fps or 60fps for vlogs and tutorials.
- Aperture: Use f/1.8–f/2.8 for a blurry background (bokeh effect).
- White balance: Adjust manually for consistent color tone.
Expert Advice:
Invest in a tripod or gimbal stabilizer for steady footage. The shaky video appears unprofessional, despite having great lighting and sound.
How to Set Up the Perfect Lighting for YouTube Videos
Lighting can make or break your video quality. Even the best camera won’t perform well in poor light. The right lighting setup ensures your face is well-lit, colors look natural, and shadows are flattering.

Basic Lighting Setup: The Three-Point Lighting Technique
- Key Light: Main source of light, placed at a 45° angle from your face.
- Fill Light: Reduces shadows on the opposite side of the key light.
- Back Light (or Hair Light): Adds depth by separating you from the background.
Recommended Lighting Equipment
- Ring Light: Great for beauty vloggers and solo creators.
- Softbox Lights: Ideal for soft, even light across your face and background.
- LED Panels: Adjustable brightness and color temperature for professional flexibility.
- RGB Lights: Add mood or color accents to your background.
Lighting Tips
- Avoid mixing light sources (e.g., daylight + warm bulbs).
- Use diffusers to soften harsh shadows.
- Place lights slightly above eye level for flattering angles.
- Control natural light using curtains or blinds for consistency.
Also, Explore this Video Podcast Studio Setup Guide
Get Professional Sound Quality for Videos
Viewers will forgive slightly imperfect video, but not bad audio. Invest in high-quality microphones and soundproofing to maintain crisp and clear audio.
Types of Microphones for YouTube
- Lavalier (Lapel) Mics:
Small clip-on mics are perfect for interviews or talking-head videos.
Examples: Rode Wireless GO II, Boya BY-M1. - Shotgun Mics:
Directional mics that capture focused sound and reject background noise.
Examples: Rode VideoMic Pro+, Deity D3 Pro. - USB Condenser Mics:
Best for streaming or voiceovers — plug directly into your PC.
Examples: Blue Yeti, Elgato Wave 3, Rode NT-USB.
Audio Setup Tips
- Keep the mic close to your mouth but out of frame.
- Use a pop filter to eliminate plosive sounds (“p” and “b”).
- Record in a quiet space — turn off fans, AC, or background noise.
- Consider basic acoustic treatment (foam panels, carpets, curtains) to reduce echo.
Optimize Background and Studio Design
Your background sets the tone for your brand. It should reflect your channel’s personality while staying clean and distraction-free.
Background Ideas
- Minimalistic look: Neutral walls, small decor, and accent lighting.
- Branded setup: Logo wall, themed props, or custom backdrop.
- Creative style: RGB backlights, shelves with books or gadgets, and plants.
Studio Design Tips
- Keep cables hidden or managed with clips.
- Add practical lighting for depth (small lamps, LED strips).
- Maintain consistent color temperature in your lighting setup.
- Use a backdrop stand or curtain if you shoot in a multipurpose room.
Editing and Post-Production Setup
A great YouTube studio isn’t complete without a solid editing workflow, as this is where raw footage transforms into polished, engaging content. A well-organized post-production setup ensures that your videos are visually appealing, consistently high in quality, and ready to captivate your audience.
Essential Editing Tools
- Beginner-friendly: Filmora, CapCut, or Canva Video.
- Professional-level: Adobe Premiere Pro, DaVinci Resolve, Final Cut Pro.
Editing Equipment
- Powerful PC or Laptop: At least 16GB RAM, SSD storage, and a good GPU.
- Dual Monitors: Speeds up editing and previewing.
- External Hard Drive: For video backups and project storage.
Editing Workflow Tips
- Maintain consistent color grading for a cohesive look.
- Use high-quality intros/outros to strengthen your brand.
- Balance background music volume — don’t overpower your voice.
- Add captions for accessibility and SEO ranking.
Budget-Friendly YouTube Studio Setup
You don’t need to spend a fortune. Here’s how you can build your studio for YouTube based on your budget:
| Budget | Camera | Lighting | Audio | Accessories |
| ₹20,000–₹40,000 (Beginner) | Smartphone / Webcam | Ring Light | Lavalier Mic | Basic Tripod |
| ₹50,000–₹80,000 (Intermediate) | Mirrorless Camera | LED Panels | Shotgun Mic | Softbox Kit |
| ₹1 Lakh+ (Professional) | DSLR / Mirrorless (4K) | 3-Point Light Setup | Studio Mic + Interface | Soundproof Panels, RGB Lights |
Read This: For your podcast studio setup guide
What Are the Common Mistakes to Avoid in Your YouTube Studio Setup?
Even with the best equipment, small mistakes can make your videos look unprofessional. Being aware of these pitfalls ensures your content stays professional and polished.
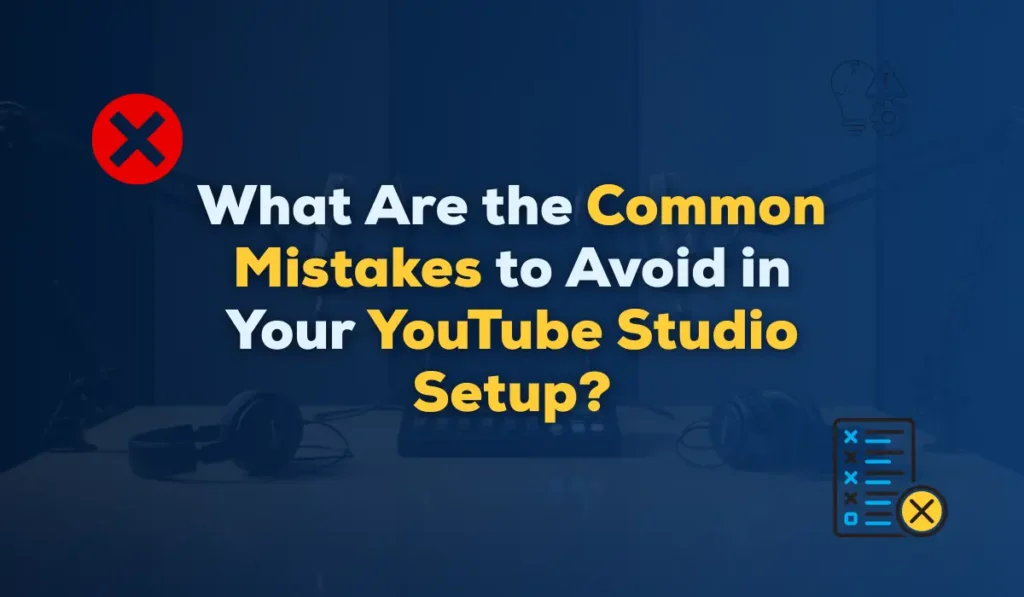
Key Mistakes to Avoid:
- Using auto exposure causes flickering.
- Ignoring soundproofing — echo ruins professional quality.
- Overusing filters or color effects.
- Poor cable management leads to messy backgrounds.
- Skipping test shoots before filming a full video.
Expand Your YouTube Studio Setup for Growth
As your YouTube channel or content platform grows, upgrading your studio setup for YouTube can take your videos to the next level and allow you to diversify your content. Consider these key enhancements:
- Teleprompter setup for smooth delivery.
- Multi-camera system for dynamic editing angles.
- Stream deck or control panel for live streams.
- Dedicated podcast corner with sound-treated walls.
These upgrades can diversify your content from tutorials and vlogs to live podcasts and webinars, helping you expand your reach and engage with a broader audience.
Our Professional YouTube Studio Setup Service
Setting up a YouTube studio can be time-consuming and technical, especially if you’re unsure about lighting positions, acoustic balance, or camera compatibility. That’s where we come in.
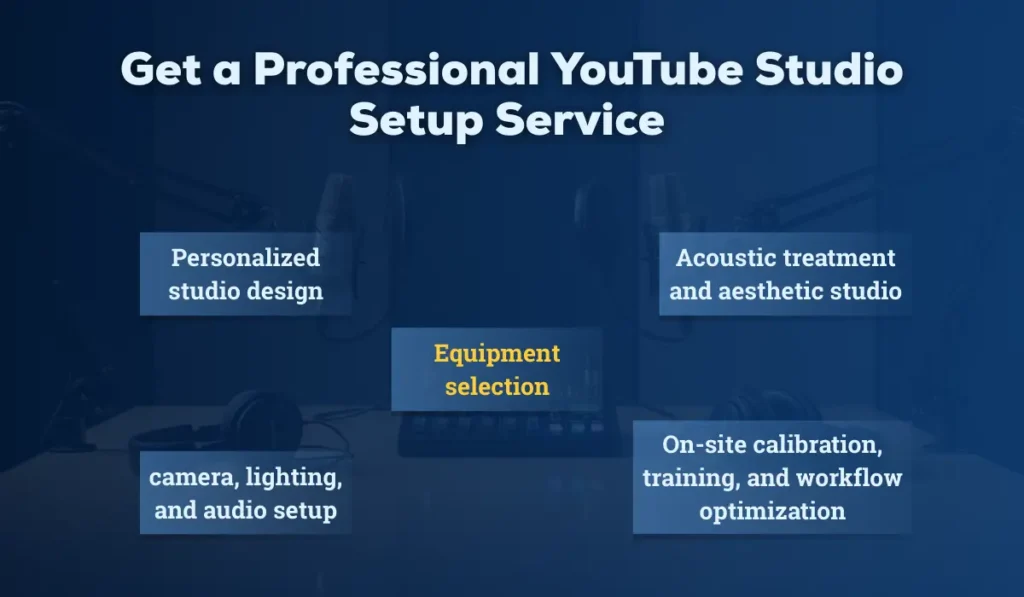
At iSLate Technologies, our YouTube Studio Setup Service provides end-to-end assistance, including:
- Personalized studio design (home or office-based).
- Equipment selection based on your goals and budget.
- Complete camera, lighting, and audio setup.
- Acoustic treatment and aesthetic studio branding.
- On-site calibration, training, and workflow optimization.
We’ve helped creators, educators, and businesses across India build professional, ready-to-shoot studios that elevate their brand presence and production quality.
Want a studio that looks and sounds world-class?
Contact us today to get a custom YouTube studio setup consultation.
Conclusion
Building a YouTube studio setup isn’t just about gear—it’s about creating a space that makes your videos look professional and sound clear. The right camera, lighting, and audio setup can transform your content and help you stand out from the crowd.
If setting up your studio feels complicated, our YouTube studio setup service can help. We design and install complete setups tailored to your space, budget, and content goals—so you can focus on creating, not configuring.
Contact us today to design and build your ideal YouTube studio and start producing high-quality videos with confidence.
FAQs
How to Set Up a YouTube Studio
To set up a YouTube studio, choose a quiet room, arrange proper lighting, set up your camera and microphone, and design a clean background. Test your audio and video settings, adjust lighting angles, and ensure your recording space matches your content style.
Is YouTube Studio Good for Beginners?
Yes, YouTube Studio is beginner-friendly and designed to help new creators manage videos easily. It offers simple tools for uploading, editing metadata, tracking analytics, and optimizing content without requiring technical expertise.
How Much Does It Cost to Build a YouTube Studio?
The cost to build a YouTube studio can range from ₹10,000 to ₹1,00,000+, depending on your equipment choices. A basic setup includes a microphone, lighting, camera, and backdrop, while advanced studios add soundproofing, professional cameras, and editing tools.
How to Choose a Good Microphone for YouTube Videos
Choose a microphone based on your content type, recording environment, and budget. USB condenser microphones work well for beginners due to easy setup, while lavalier mics are ideal for on-camera videos. Prioritize clear audio quality, noise reduction, and compatibility with your camera or computer.


Pingback: The Ultimate Podcast Studio Setup Guide for 2025
Pingback: Best Studio Setup Guide (2025 & 2026): Types, Benefits, & Choosing The Best
Pingback: Video Podcast Studio Setup: Complete Guide to Setup, Lighting & Streaming Workflow - islatetechnologies
Pingback: Video Podcast Studio Setup Guide 2025 | Design, Lighting & Workflow
Pingback: Video Recording Studio Setup Cost in India